I had invited my mother over to help out, as she has adequate sewing skills to help with the fitting process. We started by pinning the garment onto my body. As predicted, there were some fitting issues. They were not the ones I expected. First, the length really did need to be added. I will be keeping the inch all the way around, as well as adding a little additional length to the center front and center back. Second, the overall fit was too large at the top, and too small across the bottom of the back.
To correct this, we started from the center front, top edge and worked out and downwards. Mom pinned in a little both above and below the bust, allowing the fabric to conform around the vertical curve of the bust instead of just flaring out; this was paired with a very minor correction at the center front. A small intake at the second seam was used at the top, again to help the fabric conform to the bust. There is now some creasing under the bust, but that will self-correct when boning is applied; if not, we'll have another chance to make changes, as I plan to make a second fitting mockup.
 |
| The corrected bustline |
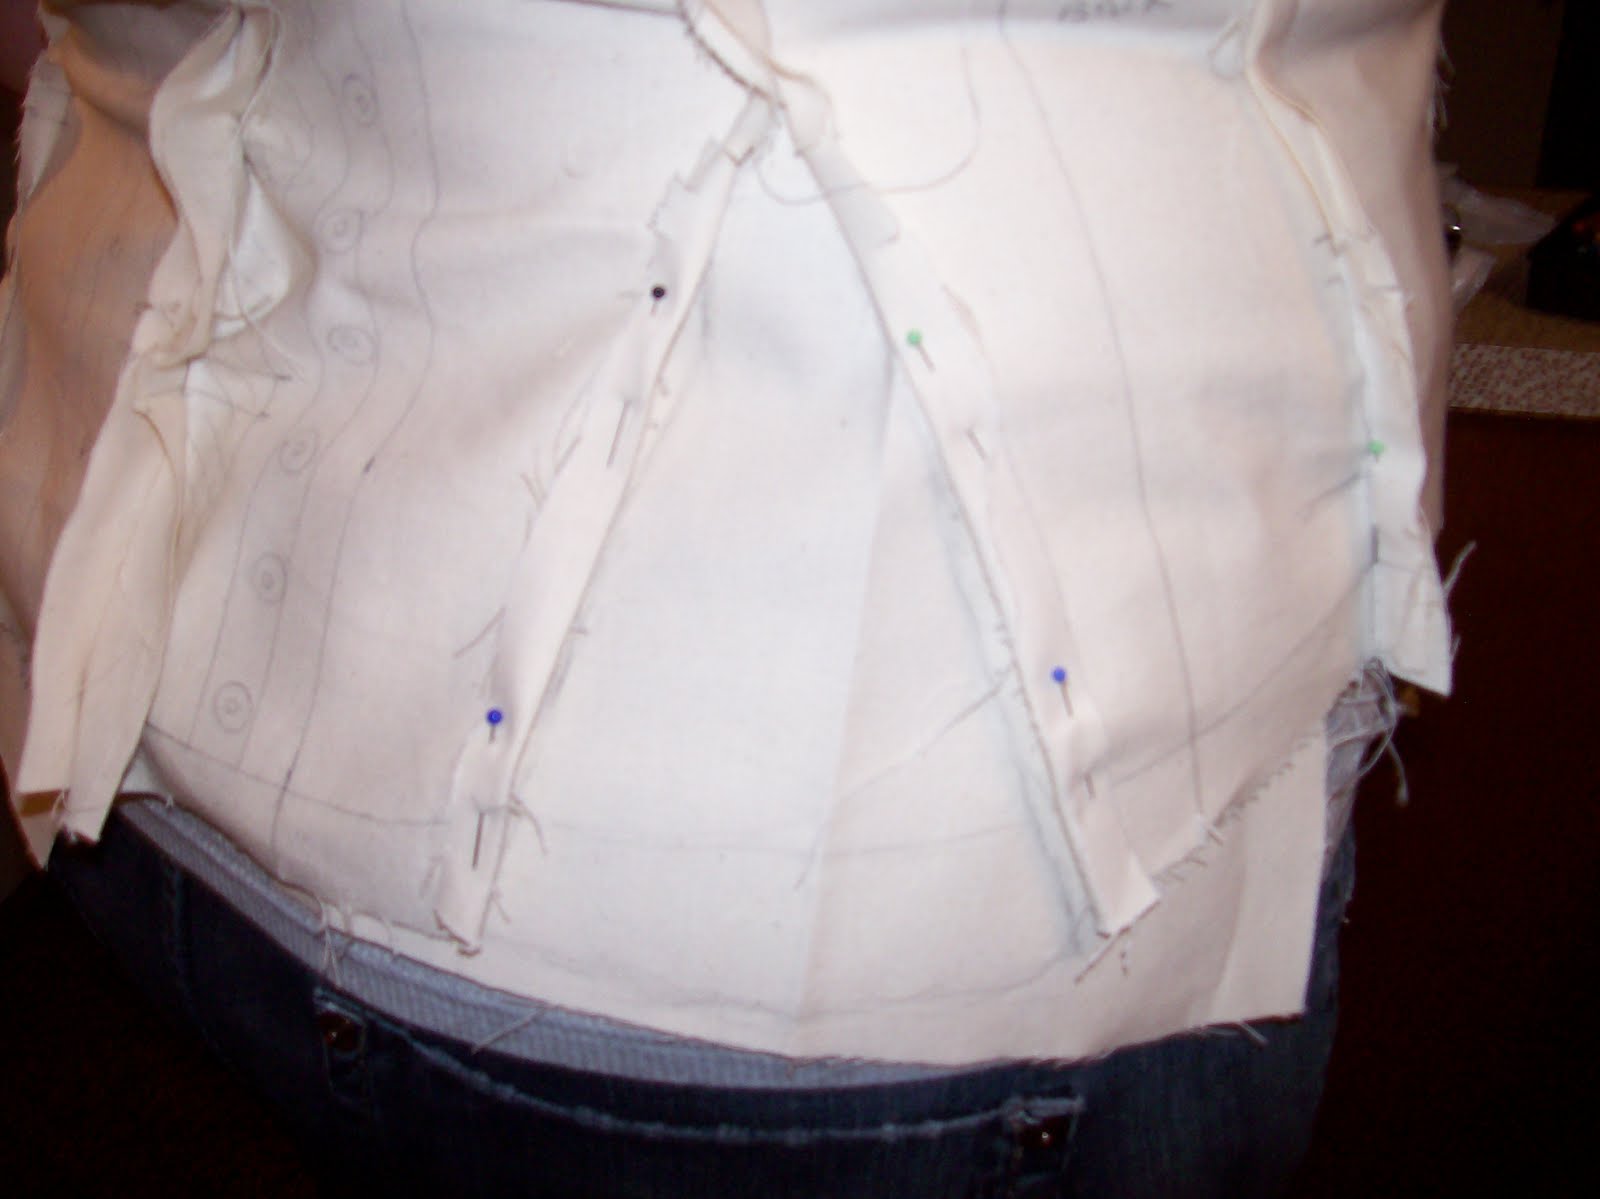
The back took some more doing, but Mom and I both knew just what to do - I opened the back seams up to have a look at how things lay. I would then be able to see better where fabric would need to be added to the pattern.
 |
| the back, with the side seams opened |
 |
| A the gap between seams |
I took one look in the mirror and decided that there was too much fill needed to simply add to the side seams, and instead a gore would be needed. (Remember me saying I wish I'd chosen the other pattern, the one with the gores?) My mother carefully pinned some scrap underneath the openings and traced the edges. Voila! A gore is born.
 |
| The space is filled with scrap fabric |
 |
| The gore, pinned and marked |
Finally, the canvas corset body was removed, and laid out on the table. It shows a lot more shape, much more like what one might expect a corset to look like.
 |
| The mockup after corrections |
The next step is to examine the mockup and draw another copy of the pattern with the changes added. In this case, we are adding a whole new piece with the gore. This too will get sewn up, and it will get boning. For the final corset, I do intend to order steel busks and boning, but not for a mockup - for that I will use one of several types of boning that I happen to have around the house. (Most people don't have three or four different types of boning just lying around, but I do!) Additionally, I will use ticking-stripe canvas and construct so that the mockup could be used to build a garment should my little heart desire.
This is the result of one weeks' time. I only have nine more weeks! That sounds like ages, I know, but it's not.


No comments:
Post a Comment